Custom Shoe Storage
If you’re like us, we had way too many shoes for the space that we had. Are you tired of seeing shoes scattered all over your home? It's time to take control of the clutter and create a custom DIY shoe storage solution that perfectly fits your needs. Building your own shoe storage not only helps you keep your footwear organized but also allows you to add a personal touch to your space. In this blog post, we will guide you through the process of building a custom DIY shoe storage system that is both practical and stylish.
Assess Your Space and Needs: Start by assessing the available space in your home and understanding your shoe storage needs. Take into consideration the number of shoes you own, the types of footwear you have (heels, sneakers, boots), and the space where you plan to install your storage unit. This assessment will help you determine the size, design, and materials required for your custom shoe storage.
Choose the Design and Materials: Once you have a clear understanding of your requirements, it's time to choose a design that suits your style and space. Here are a few popular DIY shoe storage options:
a) Shoe Shelves or Racks: Simple and versatile, shoe shelves or racks provide an easy way to organize your shoes. You can build a wall-mounted unit or freestanding shelves using materials like wood or metal.
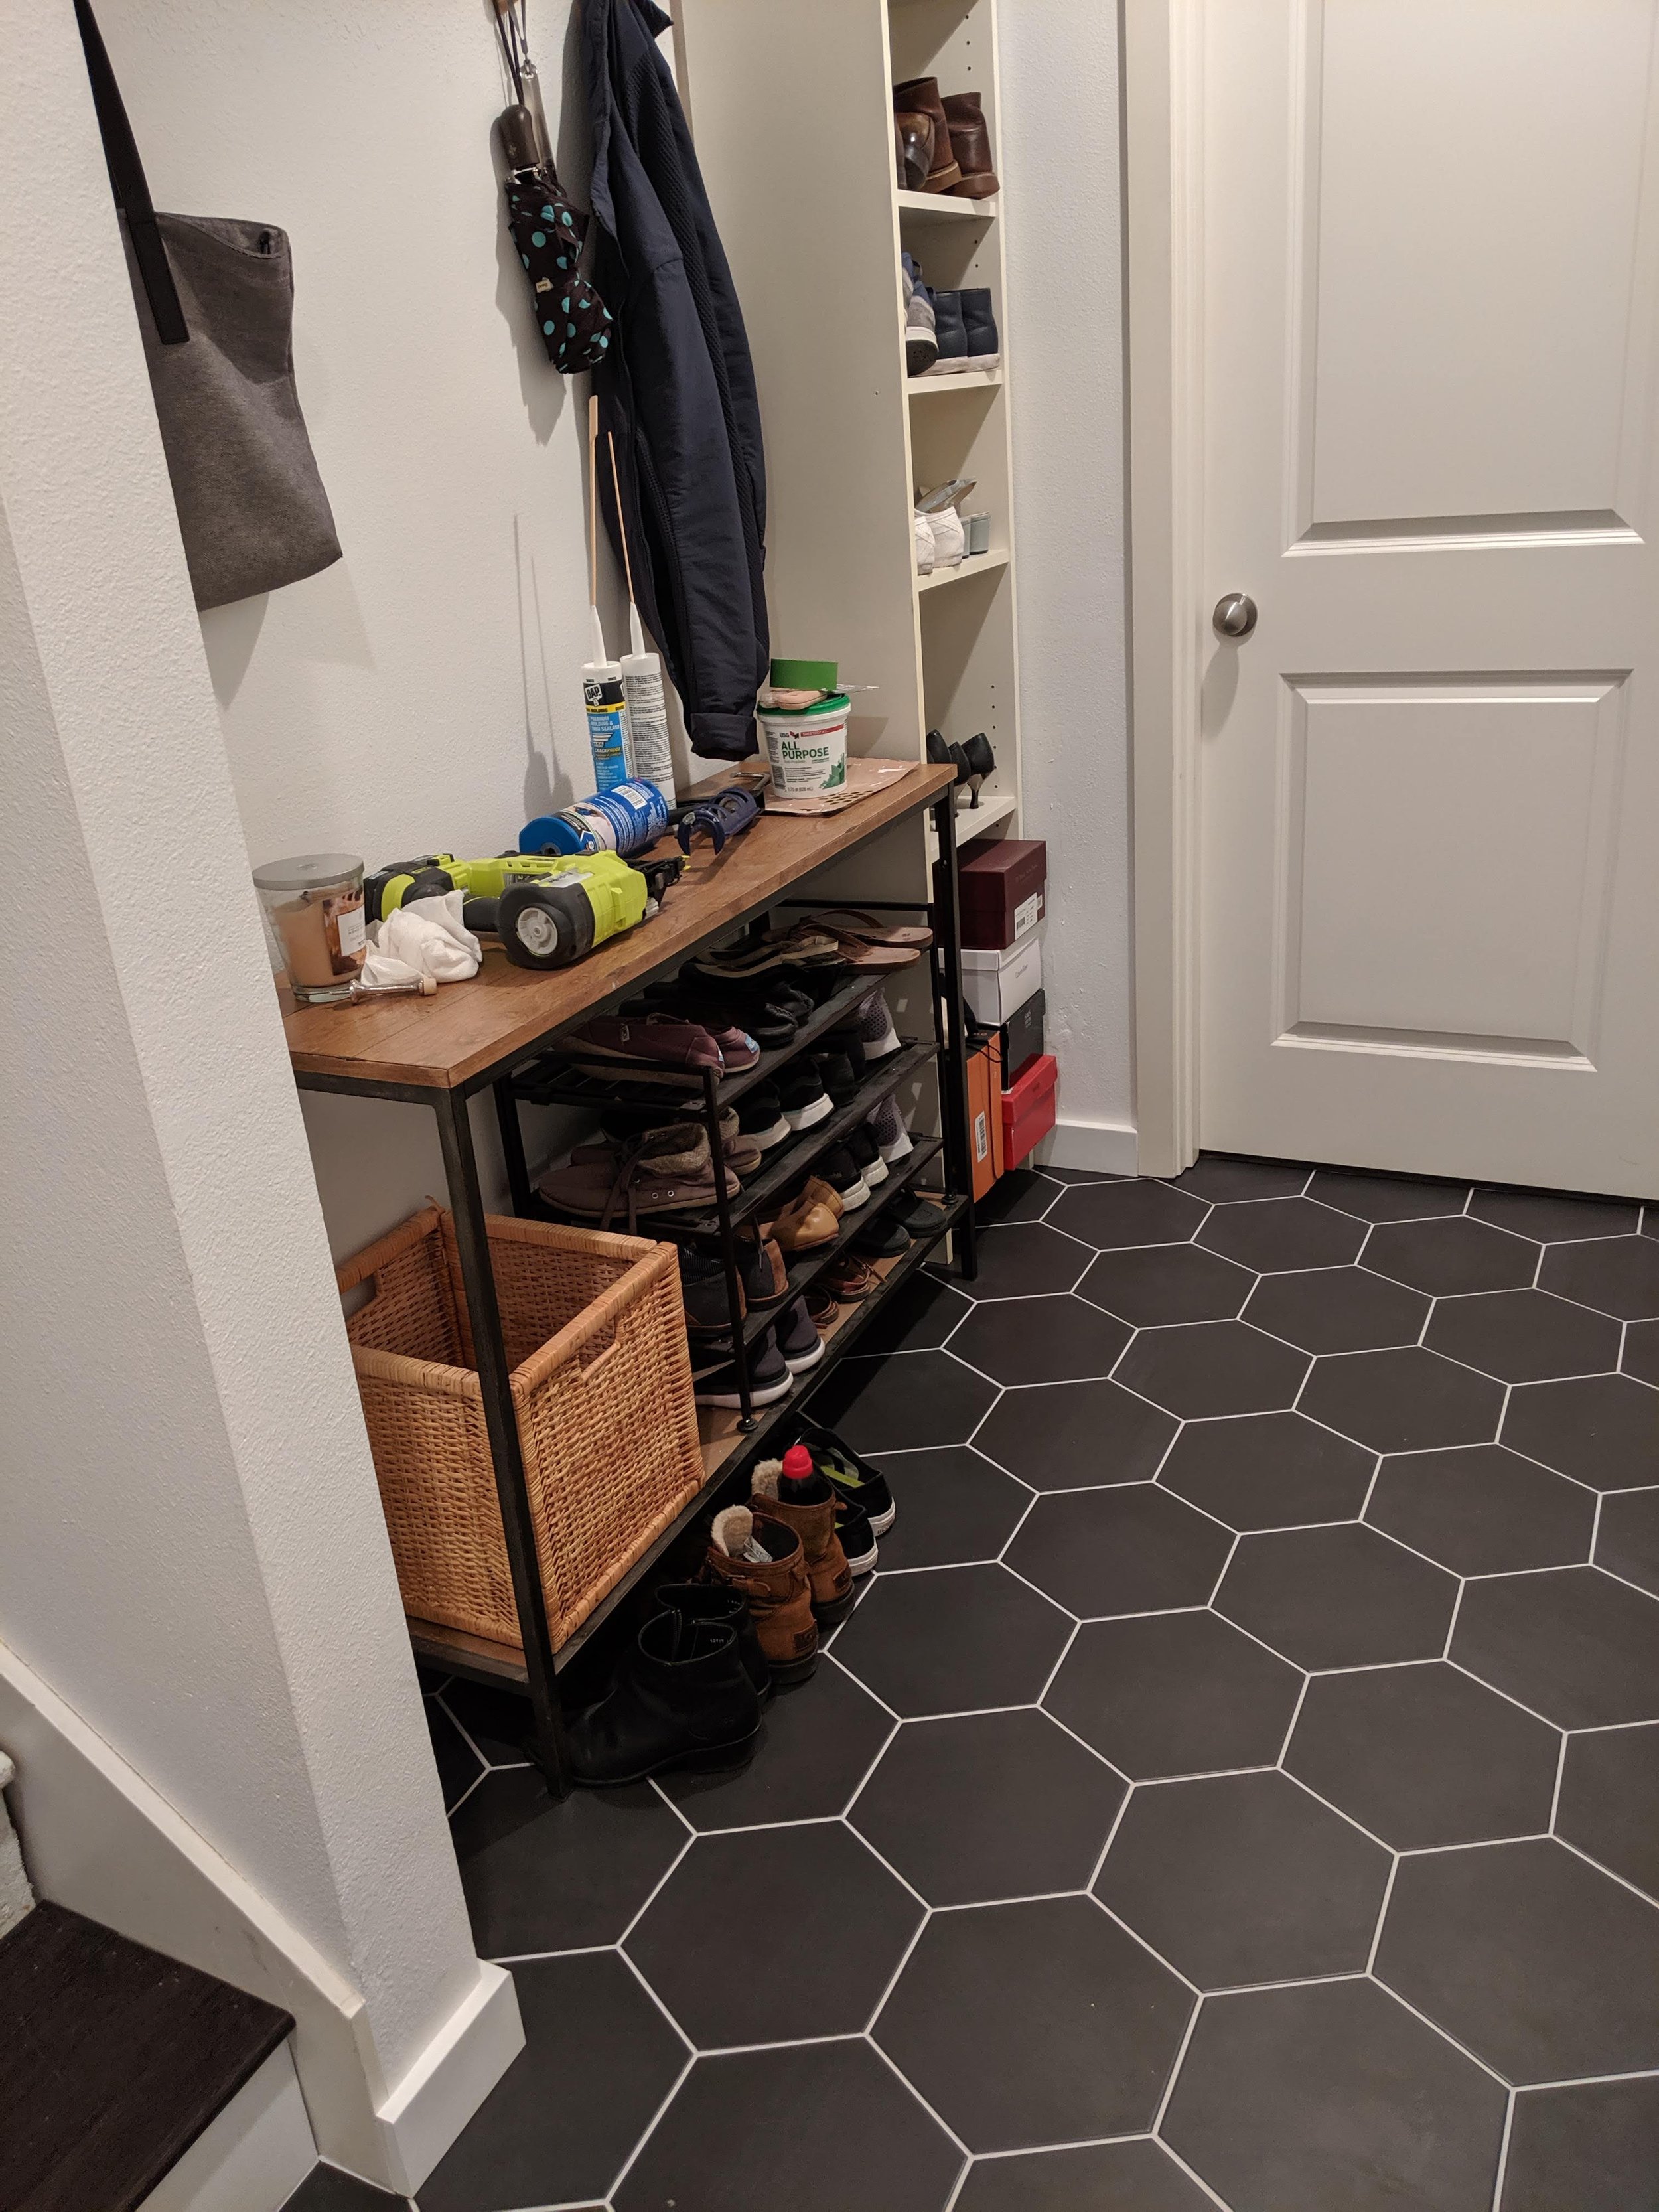
b) Shoe Cubbies or Benches: If you have limited space, consider building shoe cubbies or a bench with built-in compartments. This design not only provides storage but also serves as a seating area in entryways or mudrooms.
c) Shoe Cabinet or Chest: For those who prefer a sleek and hidden storage solution, building a shoe cabinet with doors or a chest with drawers is an excellent option. This design keeps your shoes out of sight while maintaining a tidy look.
Select the materials based on your chosen design and personal preferences. Common options include plywood, solid wood, metal brackets, screws, and paint or stain for finishing touches.
Measure and Plan: Before you start cutting or assembling any materials, it's crucial to measure your space accurately and create a detailed plan. Use a measuring tape to determine the dimensions and take into account any obstacles or limitations in your chosen area. Sketch out your design, including the measurements, to visualize how your custom shoe storage will fit into the space.
Build and Assemble: Now it's time to bring your design to life. Follow these general steps for building your DIY shoe storage:
a) Prepare the materials by cutting them to the required dimensions according to your plan.
b) Assemble the pieces using screws, nails, or brackets, ensuring stability and structural integrity.
c) Sand the surfaces to remove any rough edges or imperfections. You can also stain or paint the unit to match your home's decor.
d) Install any additional features such as hooks, adjustable shelves, or compartments to enhance functionality and organization.
Customize and Personalize: One of the advantages of DIY shoe storage is the ability to customize it according to your taste. Consider adding personal touches such as decorative molding, fabric inserts, or unique hardware to make your storage unit stand out. You can also incorporate labels or signs to easily identify different shoe categories.
Organize and Maintain: Once your custom DIY shoe storage is complete, it's time to organize your shoes effectively. Sort them by type, season, or frequency of use, and assign designated spots within your storage unit. Consider using shoe organizers like dividers, clear boxes, or hanging pockets to further optimize the organization process. Regularly clean and declutter your shoes to maintain a tidy and functional storage space.